Plant Care Tips: 10 Beginner Habits That Keep Plants Alive
Filip Leszczyński 11 November 2026 12 min read
In this article
The best plant care tips for beginners come down to doing less, but checking more. Put the plant in the right light, water only when the mix is dry an inch or two down, and let excess water drain away. Those three habits prevent most early houseplant deaths.
Here is the part most new plant owners miss: houseplants rarely die from neglect in their first months. They die from attention. Extra watering, a new spot every week, a repot on day one and fertilizer for a sad-looking plant all stress the roots at once. The 10 tips below are ordered by how much each one matters, and each links to a full care guide when you want the detail for one species.
1. Learn the name of every plant you own
Care advice only works for the plant it was written for. A snake plant and a peace lily can sit on the same shelf and need opposite things from you in the same week. If the store tag is gone, identify the plant before you change anything, because the name tells you its light, its water needs and whether it is safe around pets.
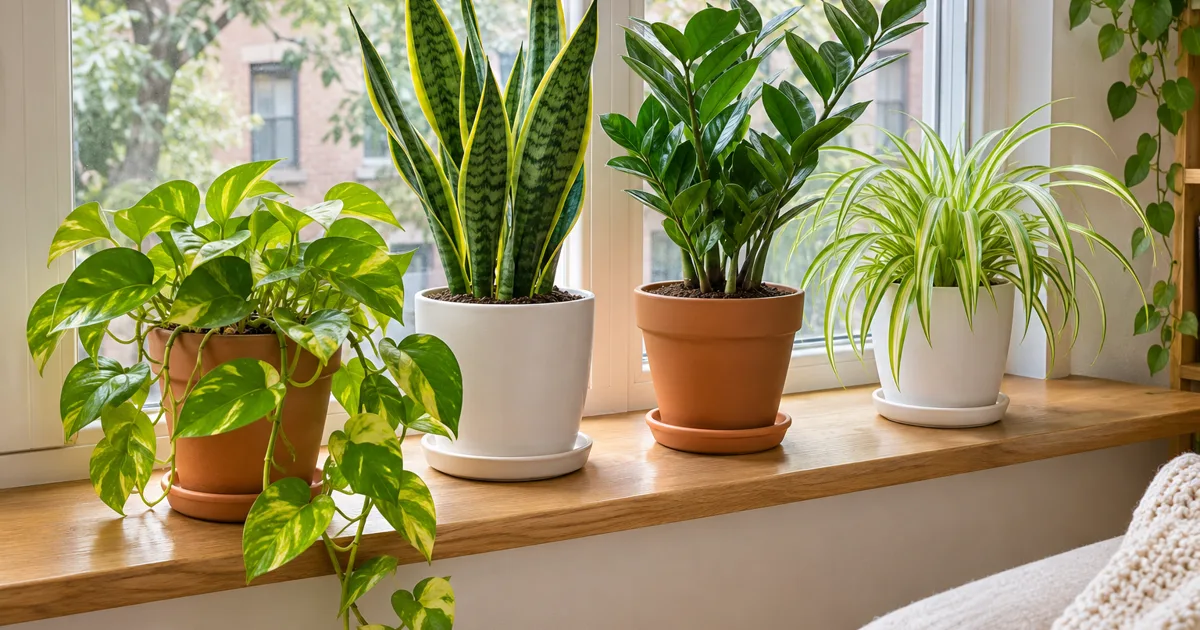
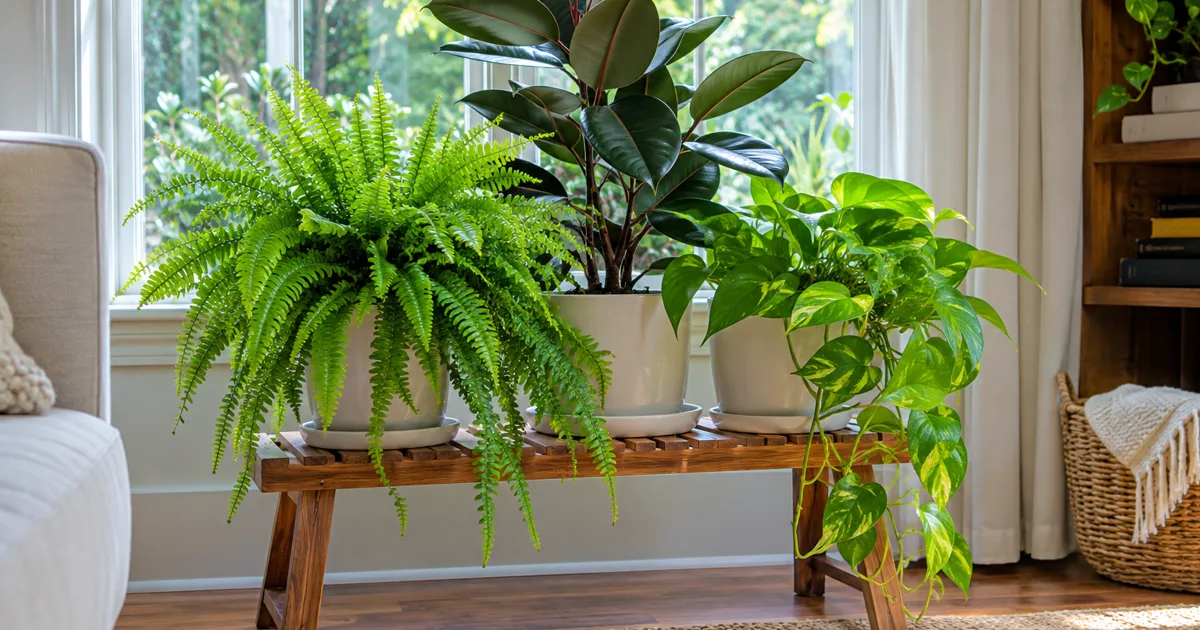
Start with a forgiving plant. These are the easiest common houseplants for a beginner, and what each one is most likely to punish you for.
| Plant | Light it wants | Water when | Most common beginner mistake | Full guide |
|---|---|---|---|---|
| Pothos | Bright, indirect; copes with medium | Top 1 to 2 inches are dry | Too little light, so vines go bare | Pothos care |
| Snake plant | Bright to low, indirect | Mix is dry almost to the bottom | Watering too often, which rots the base | Snake plant guide |
| Peace lily | Medium, indirect | Top inch is dry or leaves start to sag | Letting it sit in a full cover pot | Peace lily care |
| ZZ plant | Bright to low, indirect | Mix is fully dry | Watering on a schedule | Tips 2 to 4 cover it |
| Spider plant | Bright, indirect | Top inch is dry | Salty tap water and fertilizer buildup | Tips 2 to 4 cover it |
| Aloe and other succulents | Bright, some direct sun | Mix is fully dry | Low light plus frequent water | Tips 2 to 4 cover it |
If you are buying your first plant, pick a pothos or a snake plant. Both bounce back from a missed watering, and both tell you clearly when the light is wrong.
2. Choose the spot for light first, then everything else
Light is the one thing you cannot fix with a watering can. A plant in too little light grows slowly, uses less water and stays wet longer, so a dim spot also makes overwatering far more likely. Judge light where the leaves sit, not by how bright the room feels. A plant 8 feet back from a window gets much less light than one on the sill.

Signs of too little light are easy to read: new leaves come in smaller and paler, stems stretch with long gaps between leaves, and the whole plant leans toward the window. Our guide to reading your plant's light shows how to judge a spot without a meter. Once you find a spot that works, leave the plant there. Every move forces it to adjust again.
3. Water by checking the soil, not by the calendar
A fixed watering day is the habit that kills the most houseplants. How fast a pot dries depends on its size, the mix, the light, the season and the plant, so one schedule will be wrong for most of your collection. Check each pot instead.
Push a finger or a plain wooden chopstick 1 to 2 inches into the mix. If it comes out dry and clean, water. If it comes out dark with soil stuck to it, wait and check again in a few days. Lifting the pot works too: a dry pot feels light, a wet one feels heavy. For a deeper walkthrough, see how to tell if a plant needs water.

When you do water, water thoroughly until it runs out of the drainage hole, so the whole root ball gets wet. A small splash every few days keeps the top wet and the bottom dry, which is the worst of both.
4. Use a pot with a drainage hole and empty the saucer
Roots need air as much as water. Water that cannot leave the pot fills the air spaces in the mix, and roots in waterlogged mix start to rot. The University of Florida's houseplant care guidance puts good drainage near the top of its list for this reason.

The trap is the decorative cover pot. A plant grows in a plastic nursery pot with holes, sitting inside a pretty ceramic pot with none. Water runs through and pools out of sight. About 30 minutes after watering, lift the inner pot and pour out whatever collected underneath. Do the same with saucers.

5. Use a mix made for indoor plants
Garden soil does not belong in a pot. It packs down, drains slowly and can carry pests. Use a bagged indoor potting mix, and add perlite or bark for plants that like to dry out fast, such as succulents, orchids and many aroids. Our guide to potting mix for indoor plants explains which mix suits which plant.
6. Do not repot a new plant right away
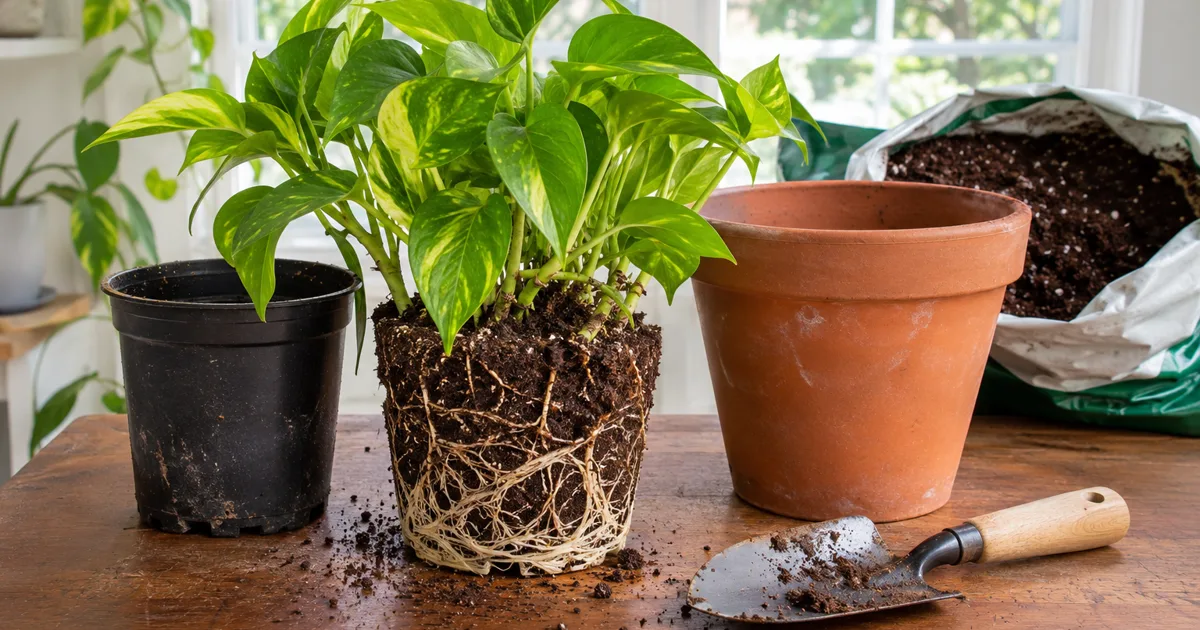
A new plant has just moved from a greenhouse to a store to your home. Give it a few weeks to settle in its nursery pot before you repot, unless water runs straight through or the plant is about to tip over.
Repot when the roots tell you to: roots growing out of the drainage hole, water rushing through without soaking in, or a root ball that is mostly roots when you slide it out. Go up only 1 to 2 inches in pot width. A much bigger pot holds far more wet mix than the roots can use, and that extra wet mix is where rot starts.

7. Feed only when the plant is growing
Fertilizer is food for new growth, not medicine. Feed during spring and summer when the plant is putting out new leaves, use a houseplant fertilizer, and follow the label for strength and frequency. Skip feeding in winter for most houseplants, and never feed a plant that is wilting, rotting or freshly repotted. Fix the cause first. Feeding is only one part of care that shifts through the year; this season by season houseplant care routine shows what to change as the light changes.
Too much fertilizer leaves salts in the mix, which can show up as a white crust on the soil or pot rim and brown, crispy leaf tips. Flushing the pot with plenty of plain water until it drains clears some of that buildup.
8. Clean the leaves and look underneath them
Dust on a leaf blocks light the plant needs. Wipe large, smooth leaves with a soft damp cloth every few weeks, and support the leaf from underneath with your other hand while you wipe. Rinse small-leaved plants under a lukewarm shower instead. Skip leaf shine products.

The wipe is also your pest check. Turn a few leaves over and look along the veins and at the stem joints. Fine webbing, sticky spots, tiny moving specks or white cottony tufts mean pests. Caught early, most can be wiped or rinsed off before they spread.

9. Keep new plants apart for the first couple of weeks
Most pest problems arrive on a new plant. Keep each new plant away from the rest of your collection for a couple of weeks and check under its leaves a few times before it joins the shelf. If you find anything, you only have one plant to deal with.

Placement also matters if you live with pets or small children. Pothos, peace lilies and snake plants are all on the ASPCA toxic plant list for cats and dogs. Check every plant you bring home against that list, and keep anything toxic out of reach.

10. Change one thing at a time, then wait
When a plant looks off, the instinct is to do everything at once: water it, move it, repot it and feed it. Then you never learn what helped, and the plant is stressed four ways. Change one thing, write down what you did, and give it time. Plants answer slowly, in weeks, not days.

Judge progress by new growth. A leaf that has already yellowed or browned will not turn green again, so a plant that is recovering still looks damaged for a while. The question is whether the newest leaf comes in firm and the right color.

Which plant care tip matters most?
Watering only after you check the soil. Almost every other tip on this list, from drainage to light to pot size, exists to keep roots from sitting wet. If you build one habit this month, make it the weekly visit: feel the mix, lift the pot, empty the saucer and look under a leaf. Many visits should end with nothing to do, and that is the routine working.
For the full routine behind these tips, read our indoor plant care guide. For one species in depth, start from the guides in the table above.
Check your plant in Leaftell
If a leaf changes and you are not sure whether it is light, water or pests, check your plant in Leaftell. Send a photo of the whole plant and a close-up of the affected leaves, and note how the mix felt an inch or two down, since a photo cannot feel the soil.
Sources
- University of Florida IFAS Extension, Caring for Houseplants
- University of Georgia Extension, Growing Indoor Plants with Success
- ASPCA Animal Poison Control, Toxic and Non-Toxic Plants
Check your growing conditions with the plant watering calculator.
Frequently asked questions
Yes, if you want to. Brown tips are dead tissue and will not turn green again, so trimming them is purely cosmetic and does not hurt the plant. Use clean, sharp scissors, follow the natural shape of the leaf, and leave a thin edge of brown so you do not cut into healthy green tissue. Then look for the cause, usually uneven watering, dry air or salt buildup from fertilizer or tap water, or the new tips will brown too.
No. Neither one is a fertilizer. Baking soda adds sodium, which builds up in potting mix because a pot has nowhere for it to wash away to, and vinegar is an acid that can damage roots. For a plant that is actively growing, a houseplant fertilizer used as the label directs is the safer choice. If a plant looks unhealthy, check light, water and drainage before adding anything to the pot.
It is a gardener's saying about perennials planted outdoors: "the first year they sleep, the second year they creep, the third year they leap." A new plant spends its first season building roots, so it looks like little is happening above ground. The lesson carries over to houseplants on a smaller scale: a new or repotted plant often grows slowly at first, so give it weeks to settle before you decide something is wrong.
Share article
About the author

Keep checking your plant
Plant care reference
Indoor plant care
Build a routine around your plant, light and potting mix.
Plant care reference
Why is my plant dying
Trace leaf and root symptoms before choosing a care change.
Plant care reference
Pothos plant care
Choose a growing spot and prune a trailing pothos for fuller growth.
Plant care reference
How to fix root rot
Inspect root firmness and drainage, then decide whether to repot.